Introduction to Homemade Chocolate Ice Cream
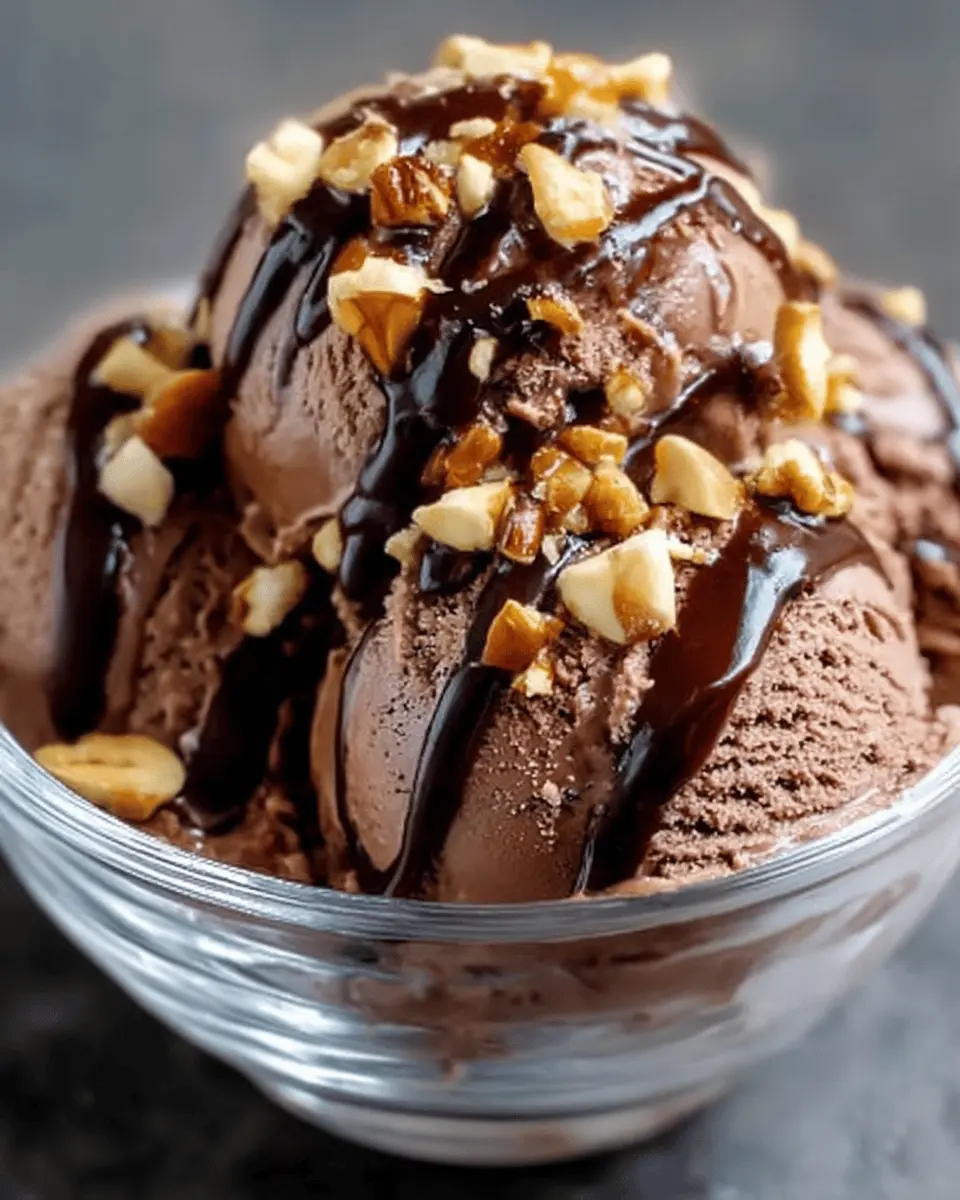
When the craving for something sweet and indulgent hits, there’s nothing quite like a scoop of homemade chocolate ice cream. Imagine the rich, velvety texture melting in your mouth, paired with your favorite toppings. What makes this treat even better? You made it yourself!
Why Homemade Chocolate Ice Cream is a Must-Try
There are a few reasons why diving into the world of homemade ice cream is a delightful adventure:
-
Fresh Ingredients: Making chocolate ice cream at home allows you to control the quality of the ingredients. You can choose organic cocoa powder, rich cream, and even customize the sweetness to your taste. No more questionable additives that you can’t pronounce! For tips on selecting the best chocolate, check out this guide from Serious Eats.
-
Customization: Want it dark, semi-sweet, or even with a hint of spice? When you embark on this homemade journey, the flavor possibilities are endless. Add in some crunchy nuts or a fudge drizzle—your imagination is the only limit. According to Food52, incorporating mix-ins can elevate your ice cream experience.
-
Fun Factor: If you love cooking (or even if you’re just starting out), making ice cream can be a fun, rewarding experience. It’s perfect for a gathering or a cozy night in. Invite friends over for an ice cream-making party, and watch everyone marvel as they create their own unique flavors.
-
Family Bonding: Homemade treats offer a chance to bond with loved ones. Whether it’s teaching your kids the art of making ice cream or surprising a partner with a sweet delight, these moments become cherished memories.
With this homemade chocolate ice cream recipe, you not only get to enjoy a delicious dessert but also embark on a creative culinary journey. So grab your ice cream maker and let’s get ready to make something truly special! This delightful treat is waiting for you, and trust me—once you take that first bite, you’ll never reach for store-bought chocolate ice cream again.
Ready to dive in? Let’s whip up this creamy goodness together!
Ingredients for Homemade Chocolate Ice Cream
Overview of essential ingredients
Creating your own homemade chocolate ice cream is not only rewarding but surprisingly simple! To get that rich, creamy texture and flavor, you’ll need the following ingredients:
- Heavy cream (2 cups): This is crucial for that luscious mouthfeel.
- Whole milk (1 cup): Balances the creaminess while keeping it smooth.
- Granulated sugar (3/4 cup): Sweetens it up just right—feel free to adjust based on your taste.
- Cocoa powder (3/4 cup): Opt for a high-quality cocoa for that deep chocolate flavor.
- Vanilla extract (1 teaspoon): Adds warmth and depth—never skip this!
- Salt (a pinch): Enhances the sweetness and the chocolate notes.
Each ingredient brings something special to the table, ensuring that your homemade chocolate ice cream isn’t just good; it’s extraordinary!
Optional toppings for an extra treat
To elevate your chocolate ice cream experience, consider adding these delectable toppings:
- Chopped nuts (like walnuts or pecans): For a crunchy surprise.
- Fudge drizzle: Because who doesn’t love a little extra chocolate?
- Marshmallows: For a touch of fluffiness.
- Chocolate chips or chunks: For added texture and flavor.
Feel free to mix and match these toppings based on your mood. Want to indulge a little more? Check out this guide to creating the perfect sundae. The world of ice cream toppings is endless!
Step-by-step Preparation of Homemade Chocolate Ice Cream
Making your own Homemade Chocolate Ice Cream is one of the most rewarding culinary experiences you can have. Not only does it allow you to customize flavors, but it also brings a bit of nostalgia from childhood when life was all about summer fun and cold treats. Let’s dive into the delightful process, step by step.
Whip the Cream
The foundation of a creamy ice cream begins with whipping the cream. Start by taking 2 cups of heavy cream. If you’re feeling fancy, you can use organic cream for an even richer taste.
- Tip: Ensure your bowl and whisk are chilled in the freezer for about 15 minutes. A cold bowl helps the cream whip up faster and to a higher volume.
- Pour the heavy cream into the chilled bowl.
- Using a hand or stand mixer, whip the cream on medium speed until soft peaks form. This should take about 3-5 minutes. You’ll know you’re there when peaks form but the mixture is still smooth.
Achieving just the right consistency is crucial. Too stiff, and you’ll end up with little clumps in your Homemade Chocolate Ice Cream.
Mix the Base
Now it’s time to create the chocolate base that will make this ice cream unforgettable. In another mixing bowl, combine:
- 1 cup of whole milk
- 3/4 cup granulated sugar
- 1 cup unsweetened cocoa powder
- A pinch of salt
Using a whisk, mix these ingredients until smooth. This mixture should look rich and chocolaty.
- Important Reminder: Gradually incorporate the cocoa powder to prevent clumps from forming. You can always sift it beforehand for a smoother mix.
You may want to check out articles on chocolate preparation techniques for more guidance on achieving the perfect open-flame texture here.
Combine the Mixtures
Once your base is ready, it’s time to bring it all together. Gently fold the whipped cream into the chocolate mixture.
- What to Do: Use a spatula, and combine slowly to maintain that light, airy texture from the whipped cream.
This step transforms your chocolate base into a smooth batter that should feel luxurious on the tongue.
Add the Goodies
This is where you can really personalize your Homemade Chocolate Ice Cream. Consider adding:
- Chopped nuts (like walnuts or almonds)
- Chocolate chips for extra decadence
- Fudge or caramel drizzle
Mix these in carefully. Keep in mind, if you’re a fan of big chunks, don’t be shy! The more goodies you add, the more exciting your ice cream will be.
Freeze the Mixture
The final step is perhaps the most anticipated — freezing.
-
Pour your mixture into an ice cream maker and follow the manufacturer’s instructions. If you don’t own an ice cream maker, no worries! You can pour the mixture into a shallow container and place it in your freezer.
-
If you’re using the latter method, remember to stir every 30 minutes to break up ice crystals. This process usually takes anywhere from 3 to 6 hours.
Once your Homemade Chocolate Ice Cream reaches that perfect, scoopable consistency, it’s ready to be devoured.
Whether you enjoy it on its own or topped with a heavenly fudge drizzle, homemade ice cream is an unforgettable treat. Not only do you have a delicious dessert, but you also have an experience to savor with friends and family. So grab your ingredients and get ready to create a dessert that’s truly special!
Variations on Homemade Chocolate Ice Cream
Nutty Variations: Fun with Different Nuts
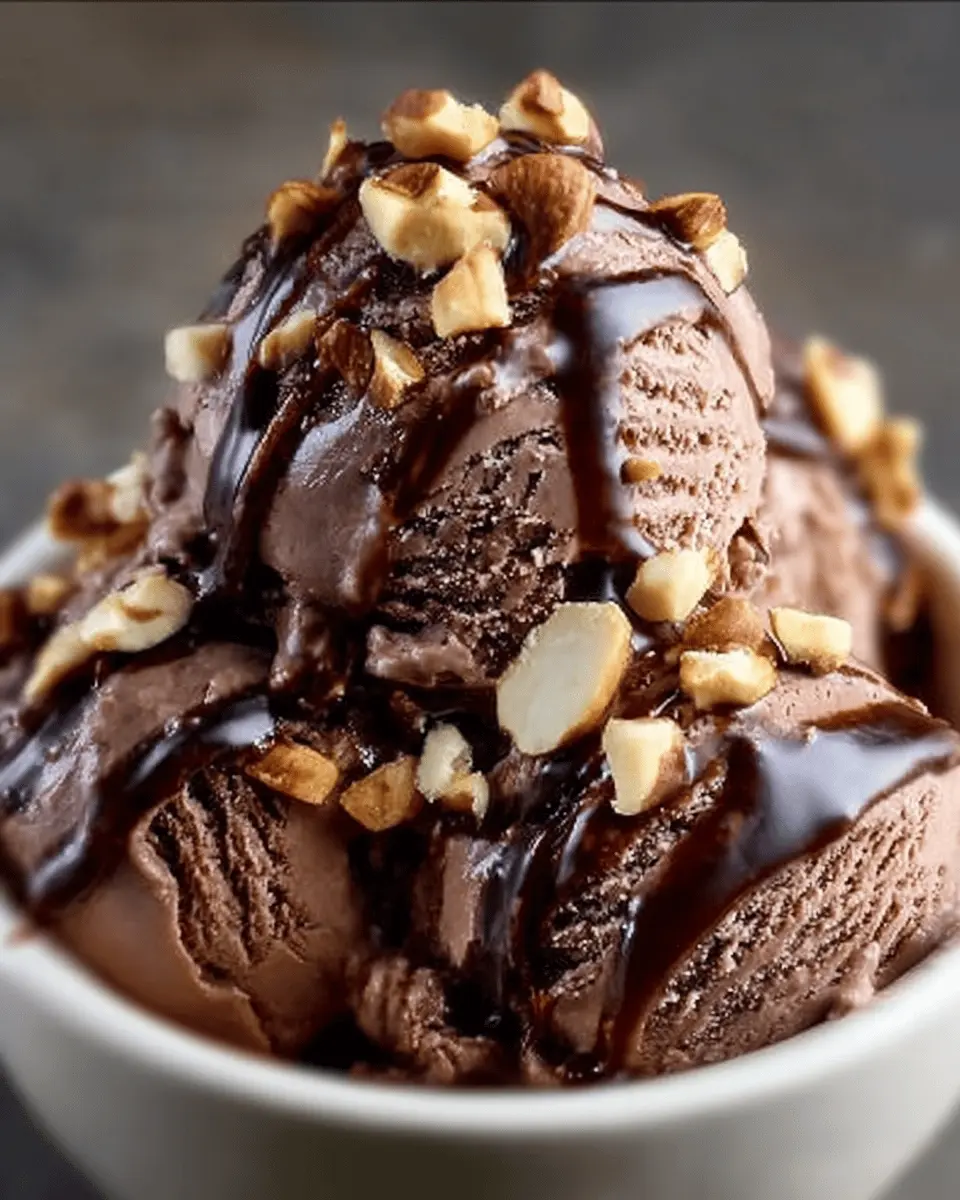
When making homemade chocolate ice cream, you can take your nut game to a whole new level! Consider mixing in or topping your creation with a variety of nuts. Each type adds a unique twist to the flavor and texture. Here are some suggestions:
- Almonds: Opt for slivered or chopped to add a gentle crunch and a slightly sweet taste.
- Pecans: These provide a buttery flavor that complements chocolate perfectly. Try toasting them lightly for extra depth.
- Walnuts: These have a robust, earthy flavor that pairs beautifully with rich chocolate.
- Cashews: For a creamier texture, chop some cashews to sprinkle over your ice cream. Their subtle flavor is delightful.
Mix and match these nuts or even create your own nut butter swirl for a fun surprise in every scoop!
Decadent Toppings: Swirl in Your Favorite Sauces
Don’t stop at just nuts; you can also elevate your homemade chocolate ice cream with decadent toppings. A drizzle of something sweet can transform your dessert into an extraordinary experience. Here are a few ideas:
- Caramel Sauce: The rich, buttery flavor of caramel perfectly contrasts with the rich chocolate base.
- Peanut Butter Sauce: If you’re a fan of chocolate and peanut butter, this is a must-try. It’s a classic combination that never disappoints!
- Fruit Purees: For a tangy twist, consider adding raspberry or strawberry puree. The freshness of the fruit brightens the overall flavor profile.
Experiment with these toppings, and don’t hesitate to get creative. As you discover your favorite combos, you’ll find the perfect balance between flavors and textures. Remember, an excellent dessert is all about personal touch!
For more inventive ideas or to deepen your culinary skills, check out resources like Food Network or Serious Eats.
Cooking Tips and Notes for Homemade Chocolate Ice Cream
Best Practices for Whipping Cream
Achieving the perfect whipped cream is crucial for your homemade chocolate ice cream. Start with chilled equipment—your mixing bowl and beaters should be cold to help whip the cream faster and achieve a lovely volume. Use heavy cream, as its higher fat content gives you that rich, creamy texture.
When whipping, beat until soft peaks form. If you go too far and hit stiff peaks, don’t fret! Just gradually fold it back into your chocolate mixture for a smoother consistency. Keep an eye on it—no one wants to end up with butter instead of cream!
Importance of Sifting Cocoa Powder
Sifting your cocoa powder isn’t just a step for show. It breaks up lumps and helps incorporate the cocoa evenly into your chocolate base, ensuring a smoother texture. A good cocoa powder can make all the difference, so consider sourcing high-quality brands like Valrhona or Ghirardelli. After all, aren’t we all after that indulgent taste?
Making homemade chocolate ice cream is about attention to detail, and these tips will elevate your ice cream game. Happy churning!
Serving Suggestions for Homemade Chocolate Ice Cream
Creative ways to serve: Bowls vs. ice cream sandwiches
When it comes to enjoying your homemade chocolate ice cream, you have some delightful options! You can serve it in classic bowls for a simple, yet satisfying treat. Adding textures like crunchy nuts or a drizzle of fudge can elevate the experience. Alternatively, why not turn your ice cream into delicious sandwiches? Grab some soft cookies or waffles, scoop the ice cream in between, and create a sweet, nostalgic treat that’s perfect for sharing!
Fun ideas for topping combos
The beauty of homemade chocolate ice cream lies in the customization. Here are a few fun topping combos to consider:
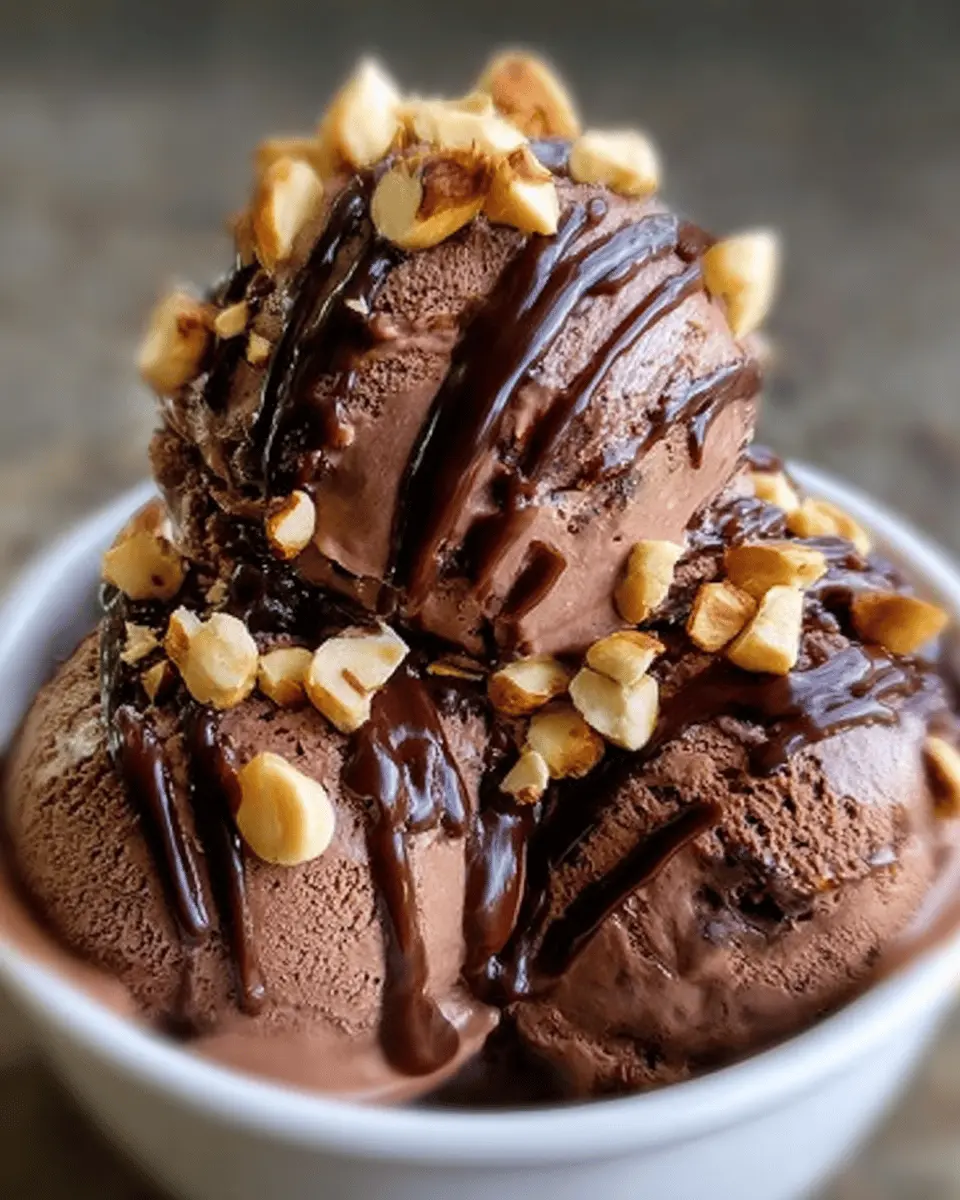
- Nutty Delight: Sprinkle chopped almonds or hazelnuts over your scoop.
- Fruity Twist: Add fresh raspberries or strawberries for a tart contrast.
- Decadent Crunch: Toss on some chocolate chips or crushed toffee.
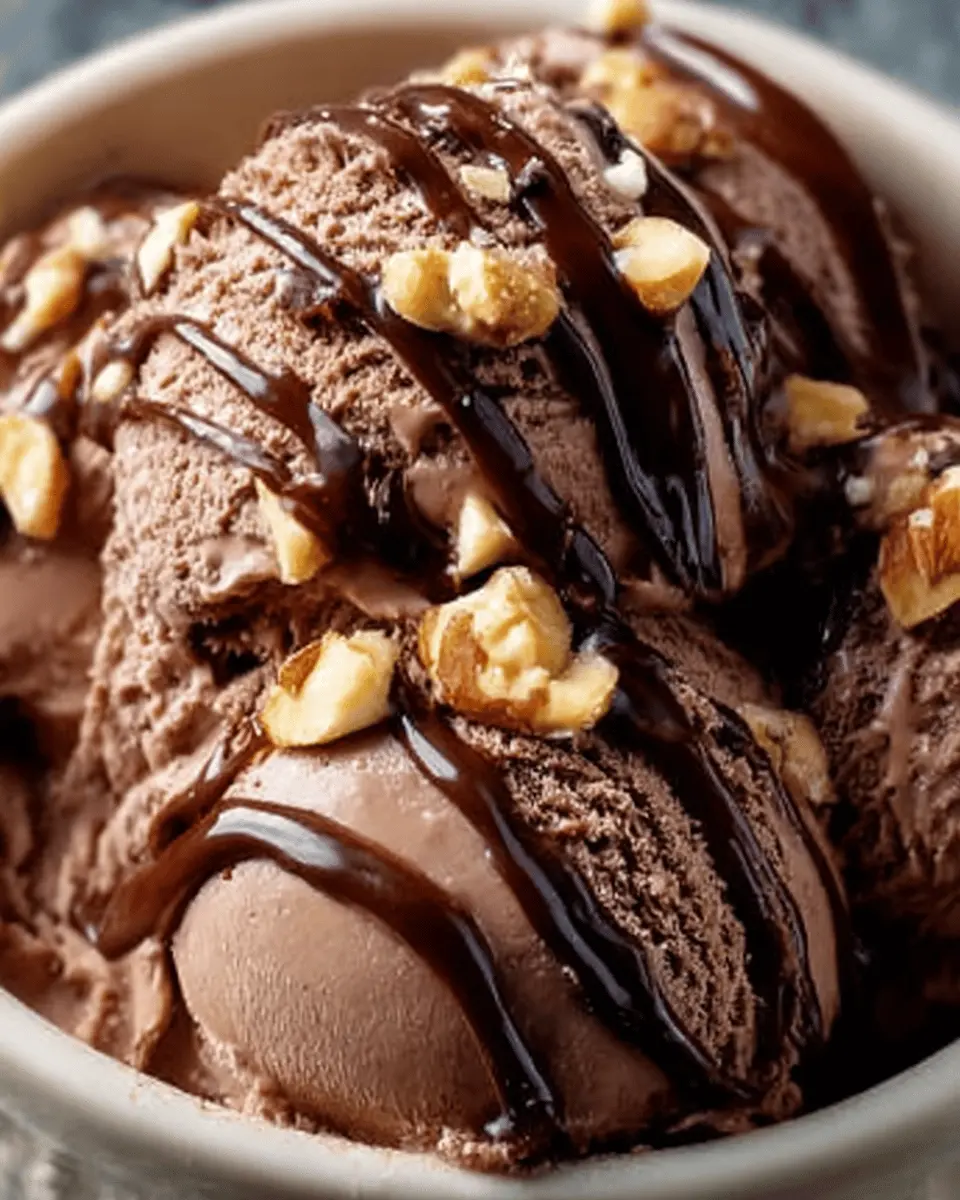
- Creamy Drizzle: Don’t forget a swirl of caramel or additional fudge sauce.
For more topping inspirations, check out this resource on the best ice cream toppings! Making your homemade chocolate ice cream uniquely yours is part of the fun, so mix and match to your heart’s content!
Time Breakdown for Homemade Chocolate Ice Cream
Preparation time
Getting started on your Homemade Chocolate Ice Cream is a breeze! You’ll need about 15 minutes to whip together the ingredients for the base. It’s the perfect opportunity to get your favorite playlist going or catch up on a podcast.
Freezing time
Once your mixture is ready, the real magic begins! Let your ice cream base chill in the freezer for about 4 to 6 hours. This is where the flavors meld and deepen, transforming your creation into a velvety treat. Can you smell that chocolatey goodness yet?
Total time
In total, you’re looking at about 4 hours and 30 minutes from start to finish—most of which is just patiently waiting. But trust me, the end result is worth every minute! Just think about how satisfying it will be to scoop your rich and creamy homemade chocolate ice cream with nuts and drizzle on some fudge.
For tips on making homemade ice cream without an ice cream maker, check out this helpful guide on Serious Eats.
Nutritional Facts for Homemade Chocolate Ice Cream
Caloric Content
Indulging in homemade chocolate ice cream is a delightful experience that brings some surprising nutritional benefits along with its rich flavor. On average, a half-cup serving contains about 200-250 calories, depending on the ingredients used. While this is a treat, consider portion sizes to balance your enjoyment with your dietary goals.
Nutritional Benefits of Key Ingredients
The components of homemade chocolate ice cream can contribute positively to your diet:
- Cocoa: Rich in antioxidants, cocoa can help improve heart health and mood.
- Nuts: Adding nuts offers healthy fats and protein, contributing to satiety and nourishment.
- Milk: Provides calcium and vitamin D, essential for bone health.
Keep in mind, the benefits are enhanced when you use high-quality ingredients. For more on the nutritional aspects of chocolate, check out this Harvard Health article.
Crafting your own ice cream not only allows you to control the ingredients but also transforms dessert into a more wholesome choice. So, the next time you’re in the mood for a sweet treat, you’ll know you’re indulging in something that packs a little more punch than store-bought options.
FAQs about Homemade Chocolate Ice Cream
Can I substitute ingredients for dietary restrictions?
Absolutely! Making homemade chocolate ice cream can be quite flexible. If you’re looking for dairy-free options, consider using coconut milk or almond milk instead of regular heavy cream. For those avoiding sugar, substitutes like honey or stevia can work wonders. If you have nut allergies, you may want to skip the nuts altogether or replace them with seeds. This way, you can enjoy a creamy treat that fits your dietary needs.
How do I store homemade ice cream?
To keep your homemade chocolate ice cream fresh, store it in an airtight container. This helps prevent icy surfaces and keeps the flavor intact. You might also layer a piece of parchment paper between the ice cream and the lid to further minimize air exposure. Label the container with the date, as homemade ice cream is best enjoyed within a week or two for optimal flavor and texture. For a delightful resource on ice cream storage, check out The Ice Cream Guru.
What if my ice cream doesn’t freeze properly?
If your homemade chocolate ice cream isn’t freezing as it should, there could be a few reasons. First, ensure your ice cream maker is cold enough; it should be pre-frozen for 24 hours before use. If your mixture is too watery or not chilled before churning, it may not freeze well either. Don’t be discouraged—just pop it in the freezer for an extra hour for a firmer consistency. Ice cream can be finicky, but a little patience goes a long way!
If you have any more questions, feel free to ask in the comments or check out trusted sources for ice cream-making tips!
Conclusion on Homemade Chocolate Ice Cream
Recap: Why it’s worth making at home
Creating homemade chocolate ice cream is more than just a delicious treat; it’s an experience that combines creativity and indulgence. When you make it at home, you control the quality of the ingredients, ensuring that every bite is rich and decadent, free from preservatives.
- Personalization: Add your favorite nuts or a generous fudge drizzle.
- Freshness: There’s nothing like enjoying a scoop straight from your freezer.
- Quality time: Whip up this recipe for a fun weekend project with friends or family.
For some more inspiration on ice cream variations and techniques, check out Serious Eats for fantastic insights. Don’t hesitate to experiment—your perfect scoop awaits!
PrintHomemade Chocolate Ice Cream: Indulgent Delight with Nuts & Fudge Drizzle
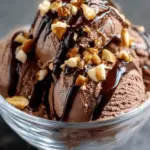
This indulgent homemade chocolate ice cream is not only rich and creamy but also features delightful nuts and a luxurious fudge drizzle.
- Prep Time: 20 minutes
- Cook Time: 0 minutes
- Total Time: 4 hours 20 minutes
- Yield: 4 servings
- Category: Dessert
- Method: Churning
- Cuisine: American
- Diet: Vegetarian
Ingredients
- 2 cups heavy cream
- 1 cup whole milk
- 3/4 cup granulated sugar
- 1 cup unsweetened cocoa powder
- 1 teaspoon vanilla extract
- 1/2 cup mixed nuts, chopped
- 1/2 cup chocolate fudge sauce
Instructions
- In a large bowl, whisk together the heavy cream, whole milk, sugar, cocoa powder, and vanilla extract until well combined.
- Chill the mixture in the refrigerator for at least 2 hours.
- Once chilled, pour the mixture into an ice cream maker and churn according to the manufacturer’s instructions.
- During the last few minutes of churning, add the chopped nuts.
- Transfer the ice cream to an airtight container and swirl in the chocolate fudge sauce.
- Freeze for at least 4 hours or until firm.
Notes
- For a more intense chocolate flavor, use a higher quality cocoa powder.
- Feel free to customize with your favorite mix-ins.
Nutrition
- Serving Size: 1/2 cup
- Calories: 250
- Sugar: 24g
- Sodium: 80mg
- Fat: 16g
- Saturated Fat: 10g
- Unsaturated Fat: 6g
- Trans Fat: 0g
- Carbohydrates: 30g
- Fiber: 1g
- Protein: 3g
- Cholesterol: 55mg