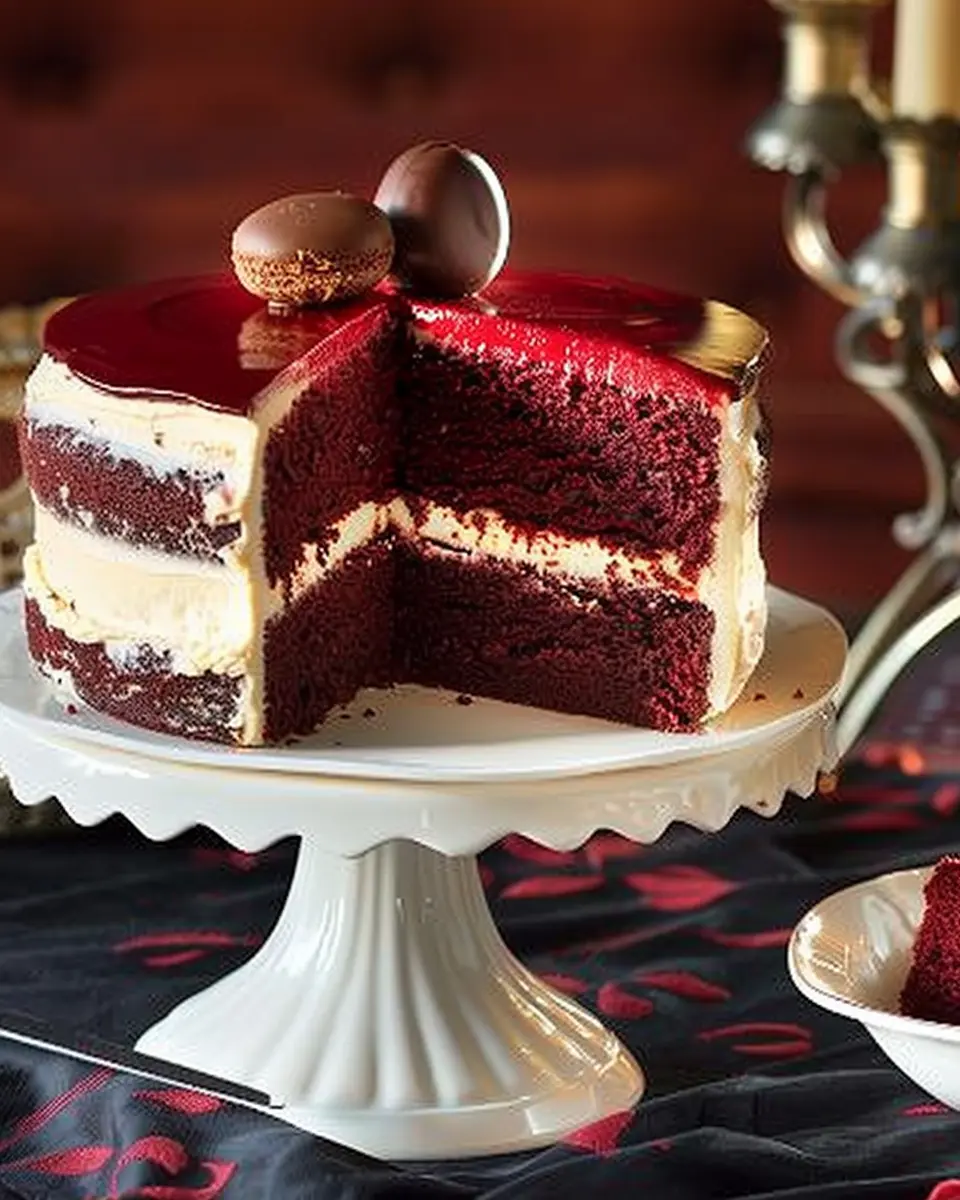
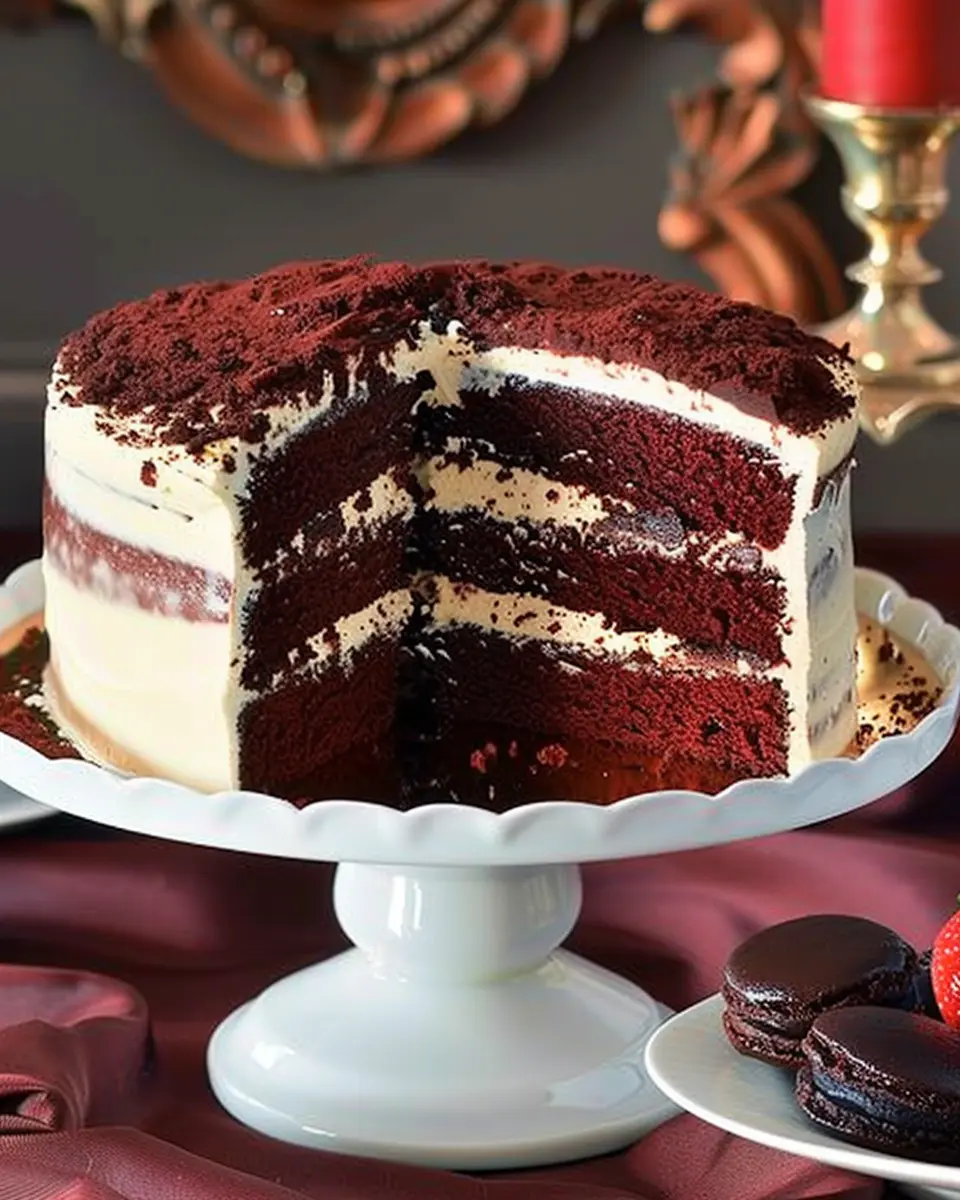
Introduction to Red Velvet Cake
Red velvet cake is more than just a dessert; it’s a slice of history wrapped in vibrant color and delightful flavor. With its striking red hue topped off with luscious cream cheese frosting, this cake has captured the hearts and taste buds of many. But why is red velvet cake so beloved by so many?
The Allure of Red Velvet Cake
One reason people adore red velvet cake is its unique blend of flavors and textures. The cake itself is moist and tender, often with a subtle hint of cocoa that doesn’t overpower. This delicious combination, paired with the creamy tang of the frosting, creates a flavor profile that is both rich and refreshing. It’s a cake that’s perfect for any occasion—from cozy family gatherings to elegant weddings.
Interestingly, the origins of red velvet cake trace back to the early 20th century, with some sources claiming its popularity surged during the 1920s. The classic recipe has evolved, and today, you’ll find variations that incorporate different flavorings and even innovative ingredients. A fascinating article on the origins of red velvet cake can be found at Smithsonian Magazine.
The Perfect Occasion for a Slice
What truly makes red velvet cake special is its versatility. Whether you’re celebrating a birthday or simply treating yourself after a long week, there’s something magical about indulging in this dessert. Plus, the color alone makes it a fantastic centerpiece for any table setting.
Key Ingredients That Make It Shine
The beauty of red velvet cake lies in its key ingredients:
- Cocoa Powder: Adds a mild chocolate flavor that rounds out the sweetness.
- Buttermilk: Ensures the cake stays moist and fluffy.
- Vinegar and Baking Soda: These create the perfect chemical reaction to give the cake lift and that soft texture.
But don’t just take my word for it—many pastry chefs have praised its unique character and charm. So, next time you see a slice of red velvet cake, remember it’s not just a cake; it’s an experience that brings comfort and joy. If you’re interested in trying to make this delightful dessert yourself, check out our full recipe for a homemade version that you can enjoy!
Ingredients for Red Velvet Cake
Creating a delicious red velvet cake involves a balance of rich flavors and eye-catching colors. Here’s what you’ll need to whip up this delightful dessert:
- All-purpose flour: 2 ½ cups
- Granulated sugar: 1 ½ cups
- Cocoa powder: 1 tablespoon (for that subtle chocolate essence)
- Baking soda: 1 teaspoon
- Salt: ½ teaspoon
- Vegetable oil: 1 ½ cups (helps keep the cake moist)
- Buttermilk: 1 cup (for that creamy richness)
- Large eggs: 2 (room temperature is best)
- Red food coloring: 2 tablespoons (the star of the show, adding that lovely hue)
- Vanilla extract: 1 teaspoon
- White vinegar: 1 teaspoon (helps to enhance the flavor)
As you gather these ingredients, consider opting for high-quality cocoa powder and vanilla extract for an elevated taste. Did you know that buttermilk adds not only moisture but also tenderness to your cake? For more tips on ingredient quality, check out this article on baking basics. Happy baking!
Step-by-Step Preparation of Red Velvet Cake
Baking a red velvet cake is like embracing a delicious culinary tradition. With its striking red hue and subtle cocoa flavor, this cake is a favorite at gatherings and celebrations. Let’s walk through the preparation step-by-step to ensure your cake turns out perfectly.
Gather your ingredients
Before you start mixing everything together, let’s make life easier by gathering all your ingredients. Here’s what you’ll need:
- 2 ½ cups of all-purpose flour
- 1 ½ cups of granulated sugar
- 3/4 cup of unsweetened cocoa powder
- 1 ½ cups of vegetable oil
- 1 cup of buttermilk
- 3 large eggs
- 2 tablespoons of red food coloring
- 1 teaspoon of vanilla extract
- 1 teaspoon of baking soda
- 1 teaspoon of white vinegar
- 1 teaspoon of salt
Pro tip: If you don’t have buttermilk on hand, you can easily make a quick substitute by adding a tablespoon of lemon juice or vinegar to a cup of milk and letting it sit for about 5 minutes. It’s a handy trick that’s saved many bakers from grocery runs!
Prep your baking pans
To avoid any sticky situations (literally), prepare your baking pans. Grease two 9-inch round cake pans with butter or cooking spray, and then lightly dust them with flour. Alternatively, you can line the bottom with parchment paper for an easier release once baked. This step is essential for achieving that flawless finish!
Mix the dry ingredients together
In a large bowl, combine the all-purpose flour, cocoa powder, and salt. Whisk these ingredients thoroughly to ensure they’re well combined. This is also a great time to use your sifter if you have one; it helps to aerate the flour and cocoa, making your cake fluffy and light.
Combine the wet ingredients and food coloring
In another bowl, mix together the buttermilk, vegetable oil, eggs, vanilla extract, and red food coloring. This vibrant ensemble will infuse your cake with its iconic color. The red food coloring can be quite potent, so use it sparingly until you reach your desired shade.
You might wonder why we’re using vegetable oil. It helps keep the cake moist—essential for any successful baking endeavor!
Cream the butter and sugar
Next, in a stand mixer (or a large mixing bowl if you’re using a hand mixer), beat together the butter (softened at room temperature) and sugar until light and fluffy, about 2-3 minutes. This step incorporates air into the mixture, contributing to the cake’s tender crumb. Remember, patience is key here—don’t rush!
Alternate adding dry and wet mixtures
Now comes the fun part! Gradually add the dry ingredients to the wet mixture, alternating with the combined liquid from earlier. Start by mixing in a third of the dry mix, then half of the wet, and repeat until everything is just combined. Be cautious not to over-mix, or you might end up with a dense cake.
Add the baking soda and vinegar mixture
In a small bowl, combine the baking soda and white vinegar. This is a crucial step; it will create a chemical reaction that helps the cake rise. Add this fizzing mixture to your cake batter and give it a gentle mix until incorporated. You’ll notice the batter gets a little lighter—just what we want for that perfect red velvet cake texture!
Divide the batter and bake
Finally, pour equal amounts of batter into the prepared cake pans. Smooth the tops with a spatula for an even bake. Bake in a preheated oven at 350°F (175°C) for about 25-30 minutes or until a toothpick comes out clean from the center.
Once baked, let the cakes cool in the pans for about 10 minutes before transferring them to a wire rack to cool entirely.
Now, you’re one step closer to enjoying your delicious homemade red velvet cake! Consider pairing it with a rich cream cheese frosting, which complements the flavors beautifully. For more tips on how to elevate your baking game, check out reliable sources like the American Baking Guild. Happy baking!
Variations of Red Velvet Cake
Exploring red velvet cake doesn’t have to stop at the classic recipe. There’s a whole world of delicious variations waiting for you!
Classic Red Velvet with Cream Cheese Frosting
Let’s start with the iconic version that many know and love. The classic red velvet cake is a delightful combination of rich cocoa flavor, vibrant red color, and a velvety texture, typically paired with a luscious cream cheese frosting. This frosting is essential; its tanginess perfectly balances the sweetness of the cake. For an extra twist, try incorporating vanilla extract or even a hint of espresso in your batter for depth. Looking for a great recipe? Check out this cream cheese frosting tutorial for some expert tips!
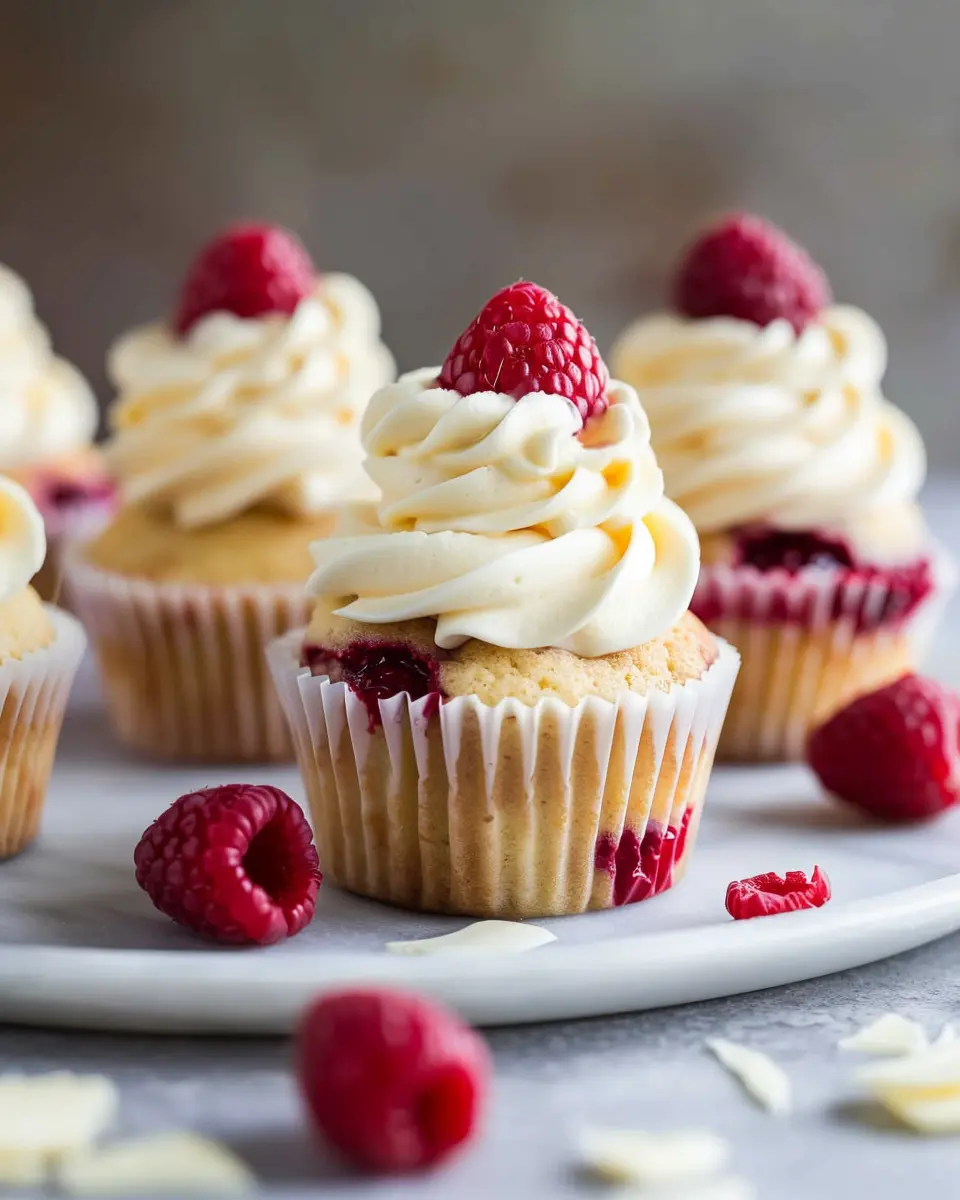
Red Velvet Cupcakes
If you’re looking for individual servings that’s perfect for parties or just a cozy night in, red velvet cupcakes are a fantastic option. Making mini cakes allows you to control portion sizes while providing a fun presentation. Top them with the same cream cheese frosting or try a marshmallow fluff topping for a lighter feel. You can even add sprinkles for a festive touch — perfect for birthdays or achievements!
Gluten-Free Red Velvet Cake
For those who need to be mindful of gluten, you can enjoy the joy of red velvet cake with a gluten-free version! Use a blend of almond flour and gluten-free all-purpose flour, which retains the moisture and richness typical of this cake. Adding a bit of vinegar and baking soda helps achieve that quintessential fluffiness. This gluten-free baking guide can provide more insights into achieving delicious results without gluten.
No matter which variation you choose, red velvet cake offers a delightful experience that everyone will love!
Cooking Tips and Notes for Perfect Red Velvet Cake
Creating a stunning red velvet cake doesn’t have to be a daunting task. Here are some tips to ensure your cake remains moist, flavorful, and visually striking.
Use Quality Ingredients
- Fresh Baking Soda: Ensure that your baking soda is fresh for the best rise. It’s often overlooked but plays a crucial role in the cake’s texture.
- Vibrant Cocoa: Opt for a high-quality cocoa powder that will intensify the cake’s beautiful color while contributing to its taste. Check out this guide on cocoa powder for recommendations.
Master the Technique
- Creaming Butter and Sugar: Take your time with this step. Creaming aerates the mixture, leading to a lighter cake.
- Don’t Forget the Vinegar: Adding vinegar balances the sweetness and enhances acidity, contributing to that classic red velvet flavor. You can always use apple cider vinegar if you prefer a milder note.
Decoration Matters
- Frosting Finish: Use a cream cheese frosting for that perfect tangy contrast. Experiment with simple piping techniques for a professional look.
Feeling adventurous? You could also explore variations with different fillings to elevate your red velvet cake further. Don’t forget to take a piece for yourself—it’s essential to taste your creation!
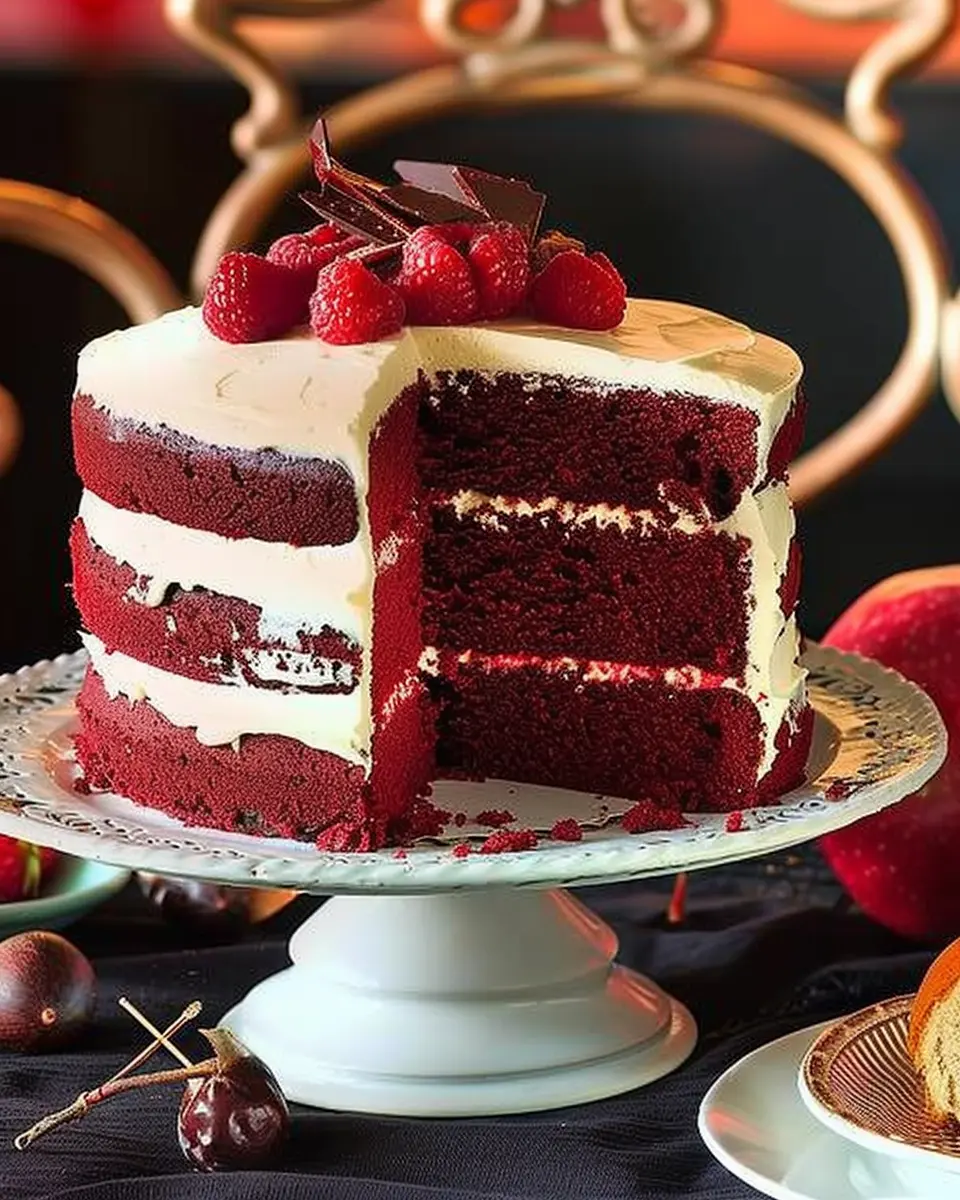
Serving Suggestions for Red Velvet Cake
Red velvet cake is not just a treat for the eyes; it’s also a canvas for creativity when it comes to serving. Let’s explore some delightful serving suggestions that can elevate this classic dessert experience.
Classic Pairings
Pair your red velvet cake with a light dusting of powdered sugar or a drizzle of cream cheese frosting on top for that extra pop of flavor. Fresh berries, like raspberries or blueberries, not only add color but also a refreshing contrast to the cake’s richness.
Alternative Beverages
Consider serving your red velvet cake with a delightful cup of herbal tea or a refreshing iced matcha latte. These beverages can beautifully complement the cake’s texture and flavors without overpowering them. For more pairing ideas, check out resources like National Public Radio (NPR).
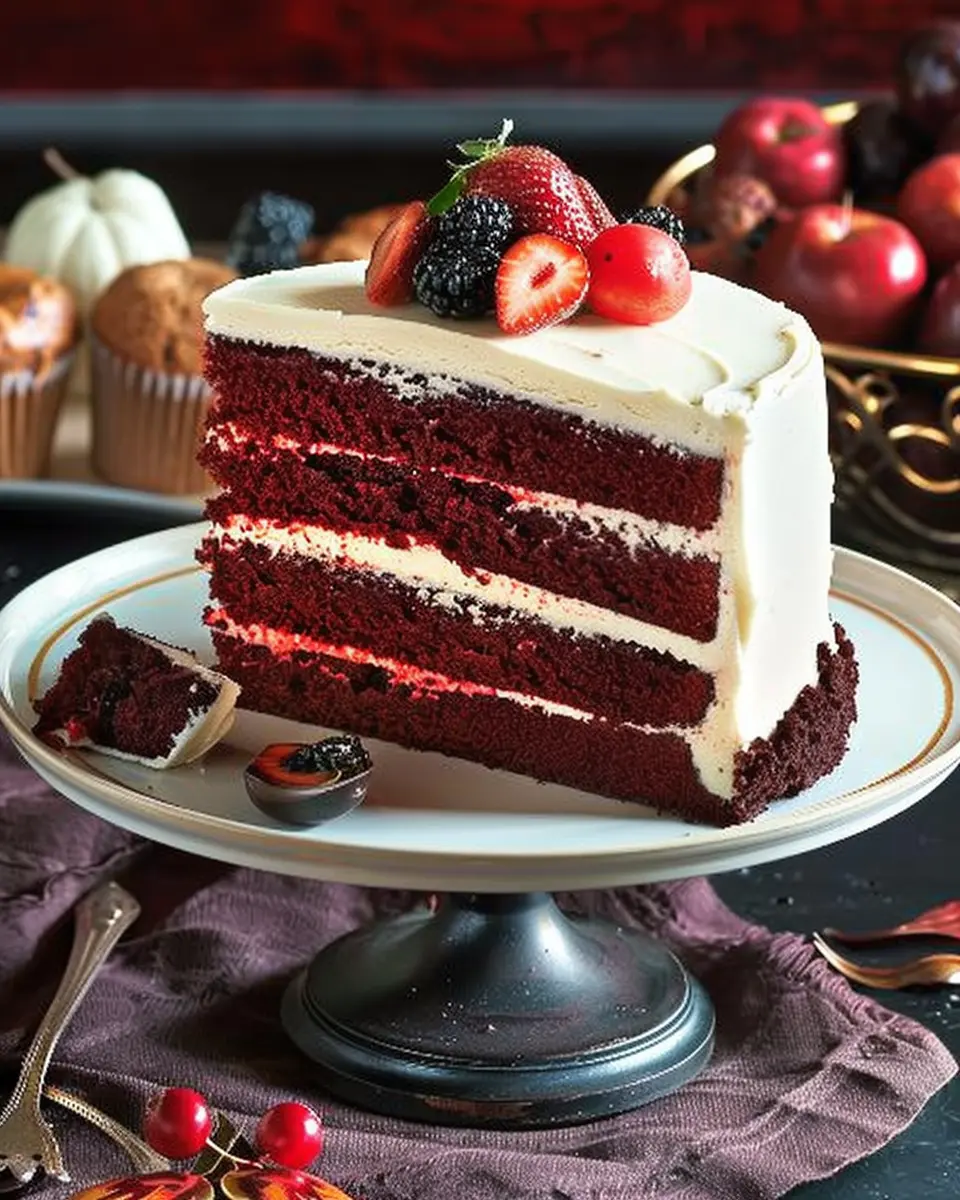
Creative Plating
Don’t overlook your presentation! Serve individual slices on elegant plates and garnish with mint leaves or edible flowers. This small touch can impress guests at any gathering.
Fun Variations
For a unique twist, think about putting leftover red velvet cake in a trifle. Layer it with whipped cream and fresh fruit for a visually stunning dessert that maintains the essence of the classic.
By mixing and matching these suggestions, you can discover your perfect way to enjoy red velvet cake—whether for a special occasion or just because you deserve a treat!
Time Breakdown for Red Velvet Cake
Preparation Time
Preparing your red velvet cake requires about 20 to 30 minutes. During this time, you’ll mix your dry and wet ingredients and prepare your baking pans. It’s crucial to have everything pre-measured, so you can focus on blending those flavors perfectly. Have you ever tasted a cake that just didn’t rise? It’s often a matter of proper preparation!
Baking Time
Once you’ve got your batter ready, pour it into your pans and pop them in the oven. The baking time will be around 25 to 30 minutes. Make sure to check for doneness with a toothpick; it should come out clean when poked in the center!
Cooling Time
After your red velvet cake has baked to perfection, let it cool for at least 15 to 20 minutes in the pans. Then, carefully transfer it to a wire rack to cool completely. This step is vital because icing a warm cake can lead to disaster!
Following these time recommendations will ensure your cake turns out beautifully every time. Need more tips? Check out sources like Martha Stewart or Food Network for additional insights!
Nutritional Facts for Red Velvet Cake
When you’re indulging in a slice of red velvet cake, it’s good to know what you’re treating yourself to. Let’s break down a few essential nutritional facts to keep in mind:
Calories
A typical serving of red velvet cake contains around 350 calories. While it’s certainly not a health food, occasional treats can be part of a balanced lifestyle.
Sugars
Each slice can have approximately 30 grams of sugar. It’s that sweet frosting that really amps up the sugar count, so consider this if you’re watching your intake.
Fats
You’ll find about 15 grams of fat per piece, mainly from the butter and cream cheese frosting. Opting for lighter frosting options can help reduce the fat content.
For more detailed nutrition insights and healthy alternatives, check out resources like the USDA FoodData Central for comprehensive data. Remember, moderation is key—enjoy your red velvet cake guilt-free!
FAQs about Red Velvet Cake
Can I use regular food coloring instead of gel?
While you can use regular liquid food coloring in your red velvet cake, gel food coloring is highly recommended. Gel coloring provides a richer hue and requires less product to achieve that vibrant red. Plus, it won’t alter the consistency of your batter as much as liquid coloring might. If you’re curious about the difference, check out this guide on food coloring types.
What can I substitute for buttermilk?
Running out of buttermilk? Don’t sweat it! You can easily make a substitute. Just mix one cup of milk (preferably whole or 2%) with one tablespoon of vinegar or lemon juice. Let it sit for about 5-10 minutes until it thickens, and voilà—instead of buying buttermilk just for this recipe, you have a perfect swap ready for your red velvet cake!
How should I store leftover Red Velvet Cake?
Leftover red velvet cake can be a delightful treat the next day, and proper storage is key to maintaining its flavor and texture. Wrap the cake loosely in plastic wrap or store it in an airtight container at room temperature for up to two days. For longer-lasting freshness, refrigerate it where it can stay good for about a week. If you’ve frosted your cake with cream cheese frosting, be sure to refrigerate to keep it safe. Interested in diving deeper into cake preservation? Check out this expert guide.
These answers should wrap up some of your burning questions! Whether you’re a novice baker or a seasoned pro, understanding these nuances will help you create the perfect red velvet cake every time.
Conclusion on Red Velvet Cake
In summary, red velvet cake is more than just a dessert; it’s a culinary experience that combines rich flavors and stunning visuals. This classic treat, with its subtle cocoa notes and vibrant color, is perfect for celebrations or a cozy night in.
When baking your own, remember that using quality ingredients—like fresh buttermilk and high-quality cocoa—can really elevate the final product. Don’t hesitate to experiment with different frostings or fillings to make the cake uniquely yours.
For more delicious dessert ideas, check out this resource on creative cake recipes or explore tips on decorating cakes at Wilton. Happy baking!
PrintRed Velvet Cake: The Easy Indulgence Your Family Will Love
Indulge in the rich flavor and stunning appearance of this classic Red Velvet Cake, perfect for any family celebration.
- Prep Time: 20 minutes
- Cook Time: 30 minutes
- Total Time: 50 minutes
- Yield: 12 servings
- Category: Dessert
- Method: Baking
- Cuisine: American
- Diet: Vegetarian
Ingredients
- 2 cups all-purpose flour
- 1 1/2 cups granulated sugar
- 1 teaspoon baking soda
- 1 teaspoon salt
- 1 teaspoon cocoa powder
- 1 cup vegetable oil
- 1 cup buttermilk, room temperature
- 2 large eggs, room temperature
- 2 tablespoons red food coloring
- 1 teaspoon vanilla extract
- 1 teaspoon white vinegar
Instructions
- Preheat your oven to 350°F (175°C) and grease two 9-inch round cake pans.
- In a bowl, sift together the flour, sugar, baking soda, salt, and cocoa powder.
- In a large mixing bowl, combine the oil, buttermilk, eggs, food coloring, vanilla, and vinegar. Mix well.
- Gradually add the dry ingredients to the wet ingredients, mixing until smooth.
- Divide the batter evenly between the prepared pans.
- Bake for 25-30 minutes or until a toothpick inserted into the center comes out clean.
- Allow the cakes to cool in the pans for 10 minutes before transferring to a wire rack to cool completely.
Notes
- Ensure all ingredients are at room temperature for best results.
- Serve with cream cheese frosting for a traditional finish.
Nutrition
- Serving Size: 1 slice
- Calories: 350
- Sugar: 20g
- Sodium: 300mg
- Fat: 20g
- Saturated Fat: 3g
- Unsaturated Fat: 17g
- Trans Fat: 0g
- Carbohydrates: 40g
- Fiber: 1g
- Protein: 4g
- Cholesterol: 50mg