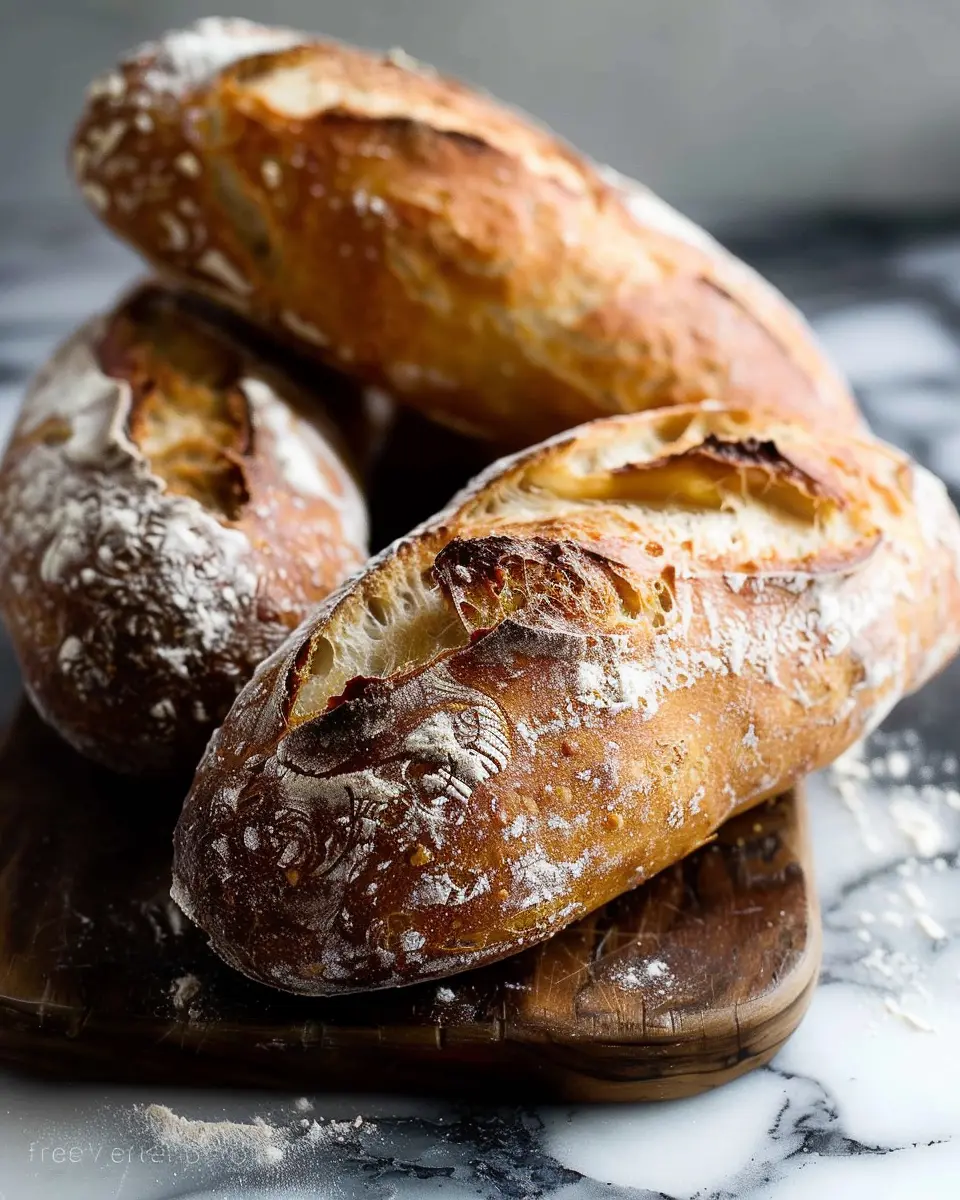
Introduction to Artisan Bread
There’s something simply magical about biting into a slice of artisan bread. The crusty exterior gives way to a soft, airy interior, and you can almost taste the craftsmanship in every bite. Making your own bread at home isn’t just about the end product; it’s about the journey. The act of kneading, waiting, and watching dough transform is an experience that resonates deeply, especially for young professionals seeking a creative outlet amid their busy lives.
Why homemade artisan bread is a game-changer
So, why should you embrace the artisan bread recipe lifestyle? First and foremost, homemade bread is a game-changer for your health. Many store-bought options contain preservatives and artificial ingredients, while your homemade version is free from anything you don’t want. You control the quality—using organic flour, natural yeasts, and fresh ingredients tailored to your tastes.
Additionally, the financial benefits are hard to ignore. Consider this: a high-quality loaf from a bakery can cost anywhere from $5 to $10, depending on the ingredients and craftsmanship. Instead, you can create delicious, high-end bread for a fraction of that cost. According to The Bread Lab, making your own bread can save you an estimated 30% compared to buying artisan loaves.
The therapeutic nature of bread-making can also act as a stress reliever—who doesn’t enjoy kneading dough after a long work week? Plus, sharing freshly baked bread with friends or family can elevate any casual gathering. Imagine serving it with a simple spread of herb-infused olive oil or indulging in a hot turkey bacon sandwich—heavenly!
Not to mention, when you develop your skills, you not only gain a culinary talent but also deepen your appreciation for traditional baking methods. There’s a rich history behind artisan bread that connects all of us, a union of past and present.
Are you ready to embark on this delicious journey? Let’s dive into the heart of making artisan bread with a recipe that can elevate your home cooking to a whole new level!

Ingredients for Artisan Bread
Essential ingredients for the perfect loaf
Creating your own artisan bread is a rewarding experience, and it starts with high-quality ingredients. Here’s what you’ll need for your artisan bread recipe:
- Flour: Go for all-purpose or bread flour with a high protein content, as this yields a beautiful chewy texture.
- Water: Use filtered water for the best taste; the amount can vary slightly depending on humidity.
- Yeast: Choose active dry yeast or instant yeast for that perfect rise.
- Salt: Sea salt enhances flavor and is crucial for controlling yeast activity.
These ingredients are staples in most kitchens and should be easy to find at your local grocery store!
Optional add-ins to enhance flavors
Want to kick your bread up a notch? Consider adding some of these:
- Herbs: Fresh or dried herbs can bring a new level of flavor.
- Seeds: Think flaxseeds, sunflower seeds, or even chia seeds for added crunch and nutrition.
- Cheese: A handful of grated cheddar or parmesan can create a decadent loaf.
Experimenting with these add-ins can give your bread that personal touch. Just remember, the foundation of a great artisan bread recipe starts with those essential ingredients, so have fun with it! Need tips on sourcing high-quality ingredients? Check out The Baking Society for recommendations and ingredient selections.
Step-by-Step Preparation of Artisan Bread
Artisan bread is one of those magical creations that can turn your kitchen into a bakery, filling your home with irresistible aromas. If you’re ready to embark on this delightful journey, follow these straightforward steps to craft your own artisan bread right at home.
Mixing the Dry Ingredients
To get this artisan bread recipe rolling, start with the basics: the dry ingredients. In a large mixing bowl, combine the following:
- 4 cups all-purpose flour or bread flour
- 1 ½ teaspoons salt
- 1 teaspoon instant yeast
Mix these ingredients gently with a whisk or your hands to ensure everything is well combined. Using high-quality ingredients is essential for a successful loaf. Consider using organic flour for a richer flavor or experimenting with various blends like whole wheat or rye. If you’re curious about effective flour types, check out King Arthur Baking for great recommendations.
Incorporating the Water
Once your dry ingredients are mixed, it’s time to introduce the water. Using lukewarm water (about 110°F) helps activate the yeast without killing it. Gradually pour in:
- 1 ¾ cups lukewarm water
As you pour, use a wooden spoon or your hands to mix the dough until it becomes shaggy and cohesive. At this point, you might notice the dough feels a bit sticky—don’t worry, that’s completely normal. The key here is to let it come together without over-mixing; artisan bread thrives on a bit of character!
Letting the Dough Rise
The rising process is when the real magic happens. Cover your bowl with a clean kitchen towel or plastic wrap to retain moisture. Allow the dough to rise at room temperature for about 12 to 18 hours. Yes, that sounds like quite a while, but this slow fermentation develops rich flavors and a chewy texture.
After this time, the dough should double in size and show small bubbles on the surface. If you ever wonder about fermentation and flavor development, the science behind this is quite fascinating—check out sources like Serious Eats for deeper insights.
Shaping the Loaves
Now that your dough is beautifully risen, it’s time to shape it. Dust your work surface with flour, and gently transfer the dough onto it. Using floured hands, fold it over itself a few times to shape it into a round or oval loaf, depending on your preference.
After shaping, place the dough seam-side down on a floured piece of parchment paper. Lightly cover it again with a towel and let it rest for about 30 minutes. This resting period helps the dough relax and makes it easier to handle.
Scoring the Dough for Baking
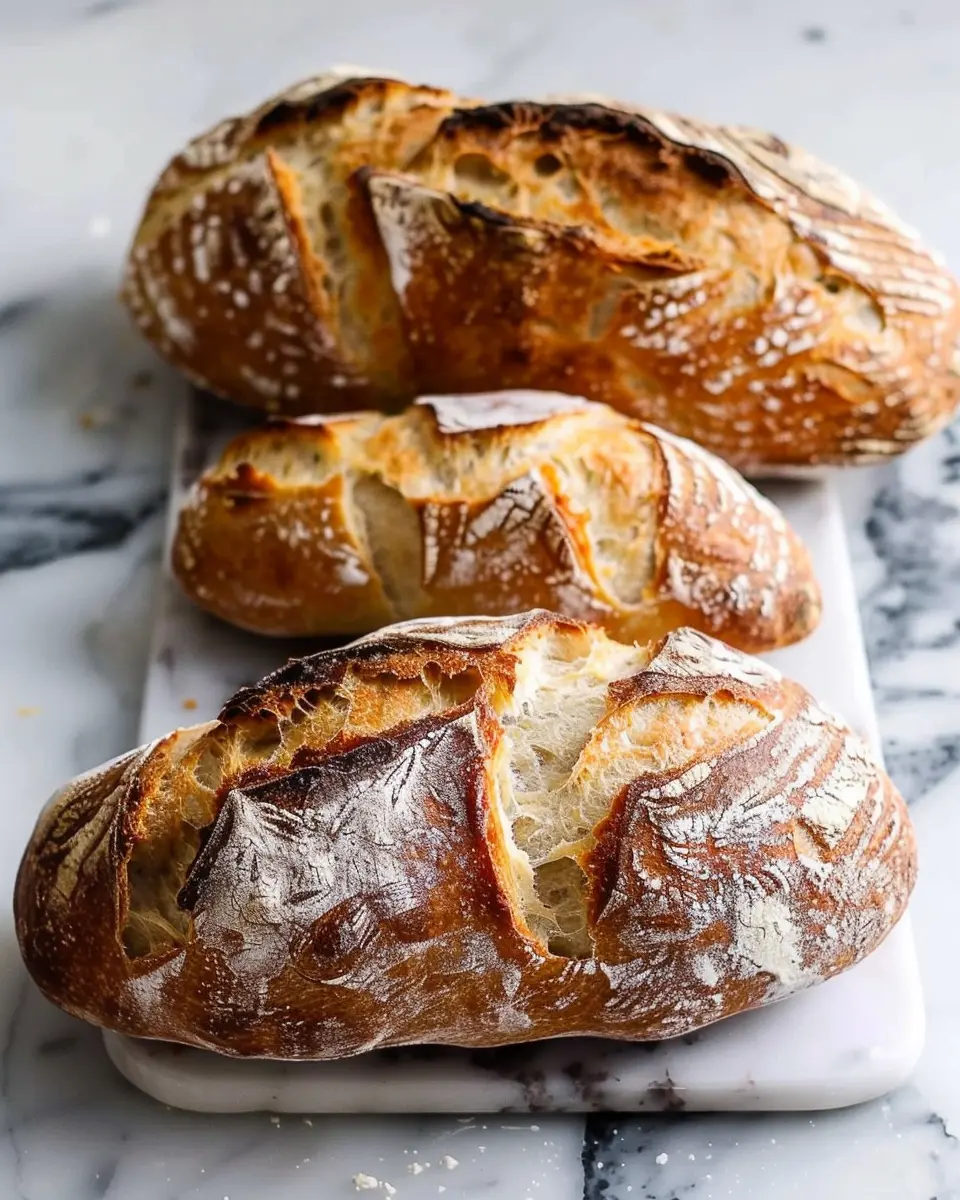
Before you transfer your dough to the oven, it’s essential to score the top. This technique allows steam to escape during baking and creates that signature artisan bread look. Use a sharp knife or a lame to make a few diagonal cuts about 1/4 inch deep across the surface. Don’t worry about making it perfect—artisan bread is all about its rustic charm!
Baking and Witnessing the Magic
Finally, it’s time for your creation to go into the oven! Preheat your oven to 450°F (230°C). If you have a Dutch oven, place it in the oven to heat for about 30 minutes. Carefully remove the hot pot, place the dough inside (with the parchment paper), cover it with the lid, and bake for about 30 minutes. Then, remove the lid and bake for an additional 15-20 minutes until the crust is deep golden brown and crispy.
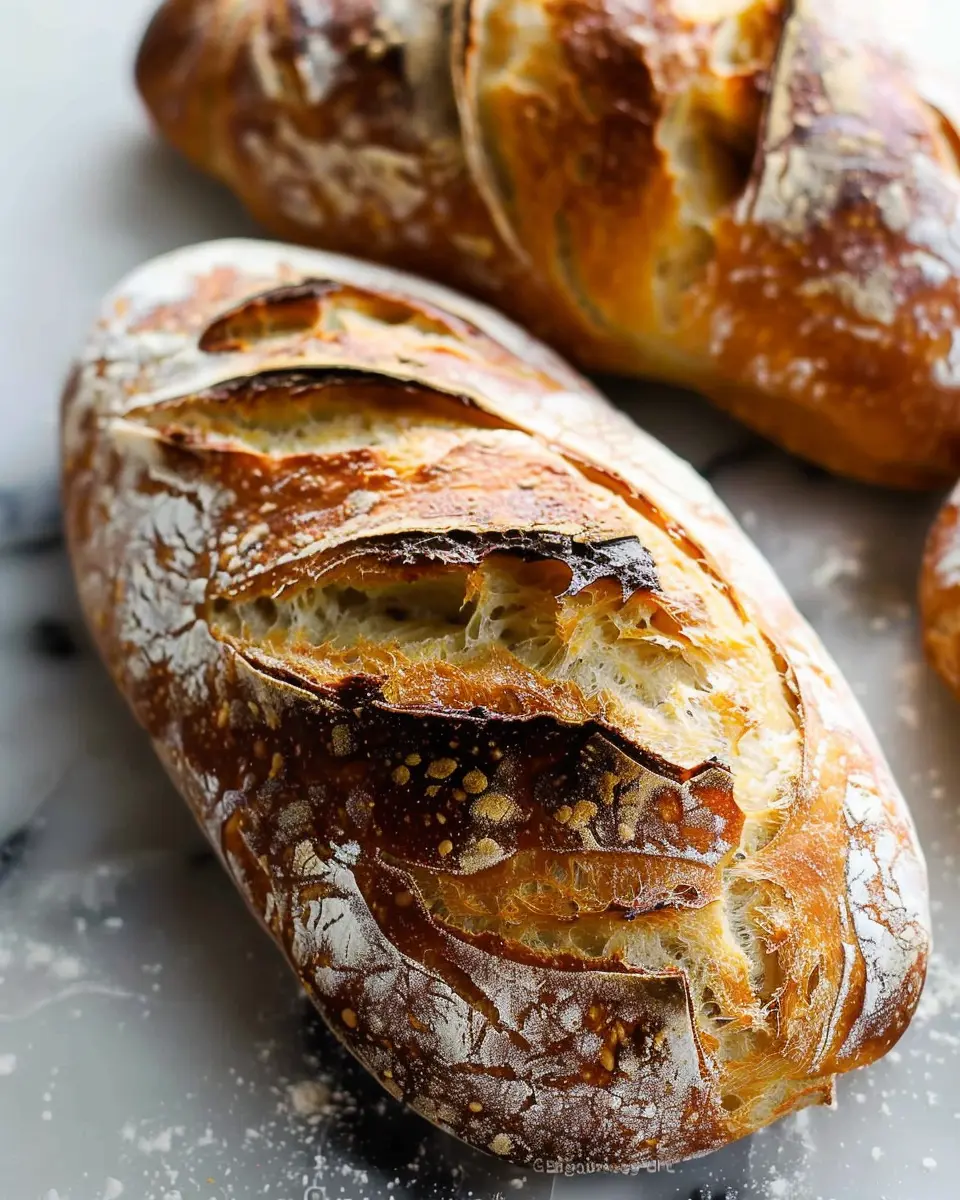
Witnessing the transformation from dough to artisan bread is truly rewarding. The crust should be hard, and when you tap the bottom, it should sound hollow. Don’t forget to let it cool completely before slicing—it’ll be hard to resist smelling that fresh, baked aroma!
Making artisan bread at home is not just about the end product; it’s about enjoying the process. So, roll up your sleeves, get your hands doughy, and let’s create something wonderful!
Variations on Artisan Bread
When diving into the world of baking, artisan bread is where the magic truly begins. Not only can you perfect the classic recipe, but you can also explore a variety of tempting flavors. Here are two delicious variations to inspire your next baking adventure!
Herb-Infused Artisan Bread
Give your artisan bread recipe a fragrant twist by incorporating fresh herbs. Imagine the warmth of rosemary, thyme, or basil filling your kitchen as it bakes. Here’s how to create this mouthwatering version:
- Choose Your Herbs: Fresh herbs like rosemary or thyme are perfect! Aim for about 2–3 tablespoons of finely chopped herbs.
- Dough Preparation: Mix the herbs into the dough during the mixing stage, allowing their essence to blend beautifully.
- Serve It Right: Pair with a simple olive oil dip for a delightful appetizer or side dish.
For more ideas, you can check out this herb bread article that delves into varying combinations and techniques.
Cheese and Jalapeño Artisan Bread
If you’re craving a kick, this cheesy and spicy version of artisan bread will hit the spot. The melted cheese and subtly spicy jalapeños create a satisfying bite. Here’s how to make it:
- Select Your Cheese: Cheddar works great, but feel free to get creative! About 1 cup of shredded cheese will elevate your flavor profile.
- Incorporate Jalapeños: Add 1/4 cup of chopped jalapeños (fresh or pickled) to the dough during the mixing process for that perfect heat.
- Perfect Pairing: This bread pairs nicely with soups or as a standalone snack.
Both variations bring their unique character to the table, transforming your artisan bread recipe into something extraordinary. Are you ready to experiment? Your taste buds will thank you!
Tips and Notes for Perfect Artisan Bread
Common pitfalls to avoid
Making a perfect artisan bread recipe can be surprisingly challenging. Here are some common mistakes to steer clear of:
-
Over-kneading: It’s easy to get carried away, but too much kneading can lead to dense bread. Stop when the dough is smooth and elastic.
-
Wrong water temperature: Using water that’s too hot can kill the yeast. Aim for a warm temperature, around 100°F (37°C).
-
Insufficient proofing: Patience is key! Under-proofed dough won’t develop that lovely texture. Always allow ample time for rising.
Recommended tools for success
Having the right tools can make all the difference in your artisan bread recipe journey:
-
Digital kitchen scale: Accurate measurements lead to perfect dough consistency. These are worth their weight in gold!
-
Dutch oven: This helps create a steamy environment, mimicking a wood-fired oven, ensuring a perfectly browned crust.
-
Bench scraper: A handy tool for managing sticky dough and transferring it with ease.
For more comprehensive insights into baking essentials, check out BBC Good Food and King Arthur Baking. Happy baking!
Serving Suggestions for Artisan Bread
Pairing with Dishes or Spreads
When it comes to an artisan bread recipe, the right accompaniments can make all the difference. Picture this: a freshly baked loaf paired with creamy herb-infused butter or rich olive oil sprinkled with sea salt. It’s a match made in culinary heaven!
For something heartier, try serving slices of artisan bread alongside savory soups or stews—think a luscious tomato basil soup or a robust beef chili. You could even layer on some chicken ham or turkey bacon for a delicious sandwich that feels gourmet. If you’re looking for a vegetarian option, try topping your bread with ripe avocado and a sprinkle of chili flakes for an energizing snack.
Creative Uses for Leftover Bread
What do you do with leftover pieces of your beloved artisan bread? Don’t let them go to waste! Here are some fun ideas:
- Croutons: Cube and toast the bread for homemade croutons, perfect for salad or soup.
- Breadcrumbs: Blitz the pieces in a food processor and you’ve got fresh breadcrumbs for those crunchy toppings.
- French Toast: Revive your slices with a custard mixture for a luxurious breakfast treat.
Not only do these ideas minimize waste, but they also maximize flavor in your meals! For more cooking tips and recipes, check out Serious Eats or New York Times Cooking.
Time Breakdown for Artisan Bread
Understanding the timing for your artisan bread recipe is crucial for achieving that perfect loaf. Let’s break down the key stages:
Preparation Time
To start, you’ll spend about 15 minutes mixing your ingredients. This step includes measuring flour, yeast, water, and salt.
Rising Time
Next comes a crucial part – the rising. Allow your dough to rise for approximately 1 to 2 hours. The longer this fermentation, the more flavor your bread will develop.
Baking Time
Finally, it’s time to bake! Expect your artisan bread to take about 30 to 40 minutes in a preheated oven. Make sure your kitchen is filled with that delightful aroma!
Total Time
In total, you’re looking at around 2 to 3 hours of effort, but most of it is hands-off while you wait for the dough to rise.
Feeling inspired? Check out King Arthur Baking for more tips!
Nutritional Information for Artisan Bread
When diving into the world of baking, understanding the nutritional profile of your creations is essential. Let’s break down the nutritional information for your delicious artisan bread recipe!
Calories per serving
Each slice of homemade artisan bread typically has about 80 calories. This means that indulging in that freshly baked goodness doesn’t have to derail your healthy eating plans.
Macronutrient breakdown
- Carbohydrates: Approximately 15 grams
- Protein: Around 3 grams
- Fats: Generally less than 1 gram
This artisan bread recipe offers a blend of energy-boosting carbs and a hint of protein, making it a versatile addition to your meals. If you’re curious about more detailed nutrition information or how to adjust them for your dietary preferences, check out resources like the USDA FoodData Central. They provide incredible insights that can help you tailor your baking to fit your nutritional needs.
FAQs about Artisan Bread
How can I improve my bread’s texture?
If you’re finding that your artisan bread could be fluffier or crustier, there are a few tricks up your sleeve! Here are some tips to enhance texture:
- Hydration: Increasing the amount of water in your dough can create steam during baking, leading to a lighter crumb.
- Kneading Technique: Proper kneading develops gluten, which gives your bread structure. Try the stretch and fold method for a more artisanal approach.
- Baking Surface: Use a baking stone or steel for an excellent crust. They provide consistent heat that mimics a brick oven.
For more insights on achieving the perfect texture, check out expert baker blogs like King Arthur Baking.
What if my dough doesn’t rise?
It’s a bummer when your dough doesn’t rise as expected, but don’t despair! There might be a couple of culprits:
- Yeast Quality: Ensure your yeast is fresh. Expired yeast can lead to flat bread. Consider proofing it in warm water with a bit of sugar to see if it bubbles.
- Temperature: Dough likes warmth. A chilly environment can slow down yeast activity. Aim for a cozy spot in your kitchen or try using an oven with the light on.
How should I store my artisan bread?
The way you store your bread can significantly impact its freshness. Here are some best practices:
- Room Temperature: Keep your bread in a paper bag or wrapped in a clean kitchen towel. Avoid plastic, which can trap moisture and lead to a gummy texture.
- Freezing: If you have leftovers, slice your bread and wrap it tightly in plastic wrap before placing it in a resealable bag. It’ll stay fresh for up to three months!
With these answers in mind, you’re on your way to mastering your artisan bread recipe! If you have more questions or need further tips, feel free to share in the comments below.
Conclusion on Artisan Bread
Embracing the joy of homemade bread
Crafting your own artisan bread isn’t just about following a recipe; it’s about embracing a joyful process that nourishes both body and soul. Each step—from mixing your ingredients to the moment the delightful aroma fills your kitchen—brings a sense of fulfillment that store-bought bread simply can’t replicate.
This artisan bread recipe allows you to experiment with flavors and textures, creating delicious loaves that perfectly suit your palate. Plus, think of how impressed your friends will be when you share your homemade creations! So go ahead, grab your ingredients, and let the magic of baking unfold. Discover more about the art of bread-making with resources from King Arthur Baking or Breadtopia. Enjoy every slice of this wonderful journey!
PrintArtisan Bread Recipe: Easy Tips for Perfect Homemade Loaves

Learn how to make artisan bread at home with these simple tips and techniques for perfect loaves.
- Prep Time: 15 minutes
- Cook Time: 45 minutes
- Total Time: 18 hours
- Yield: 1 loaf
- Category: Bread
- Method: baking
- Cuisine: French
- Diet: vegetarian
Ingredients
- 3 cups all-purpose flour
- 1.5 teaspoons salt
- 1.5 teaspoons active dry yeast
- 1.5 cups warm water
Instructions
- In a large bowl, mix flour, salt, and yeast together.
- Add warm water and stir until combined.
- Cover the bowl with plastic wrap and let it sit for 12-18 hours.
- Preheat your oven to 450°F (230°C) and place a Dutch oven inside to heat up.
- Once risen, transfer the dough to a floured surface and shape it into a ball.
- Place the dough onto a parchment paper and lift it into the hot Dutch oven.
- Cover and bake for 30 minutes, then uncover and bake for another 15 minutes until golden brown.
- Remove from oven and allow to cool before slicing.
Notes
- For a crusty bread, use a Dutch oven with a lid.
- Experiment with different flours for unique flavors.
Nutrition
- Serving Size: 1 slice
- Calories: 120
- Sugar: 0
- Sodium: 200
- Fat: 0.5
- Saturated Fat: 0
- Unsaturated Fat: 0
- Trans Fat: 0
- Carbohydrates: 24
- Fiber: 1
- Protein: 4
- Cholesterol: 0